
Still, I've not had much to blog about in this regard. Or at least, looking at all the photos, it turns out that how I feel and how I've been documenting it haven't quite matched up, so this might turn out to be a little longer than expected.
Two months ago, shortly after my first post, I met up with my fellow Notts NaNoers (my local writing group as well as my local NaNo group, and all at least as odd as me in their own ways) and after chat and food, @anikadaniels and I went and examined the paint department of the Broadmarsh Wilkos. To be honest, I didn't have much idea what I was looking for and I'm pretty indecisive, so having Anika with me was a great help, particularly when it came down to narrowing a surprisingly large amount of wood stains and varnishes down to particularly 'steampunk' colours. We settled on Teak and Antique Pine.

Shake the goddamn bottle properly.
That, to the left, is Teak. Or at least, it would be if I'd given the bottle/can the thrashing it clearly needed, because it came out looking remarkably pine-y.
In hindsight, that photo is hilarious. You'll see why, assuming you haven't already scrolled down or seen a later picture. But still, let that be a lesson to you all. If you're going to paint something, really, really shake the can, because otherwise you'll end up with a wishy-washy colour.
 So I picked the damn thing up and gave it a proper shake.
Significantly better results.
Still a bit light though; I wanted to go for something deep and rich.
It should be noted here that I'm doing all of this with a very cheap paintbrush that I'd bought specially for the job. I've got proper paintbrushes and there is no way I'd use one with wood stain or paint, but cheap ones from The Works do a remarkably good job, even if I had to clean what looked like glue off the one I'd chosen for the job—which came from a sealed pack. I suspect whatever they used to glue the bristles in leaked somewhat.
 So I kept on and the more coats I applied, the darker it got, until I
 settled on a nice dark colour.
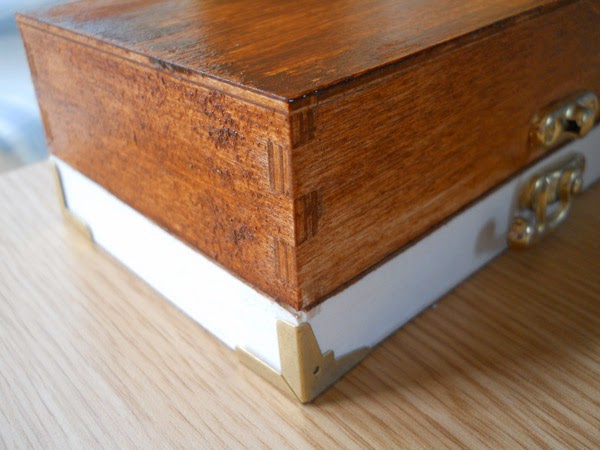
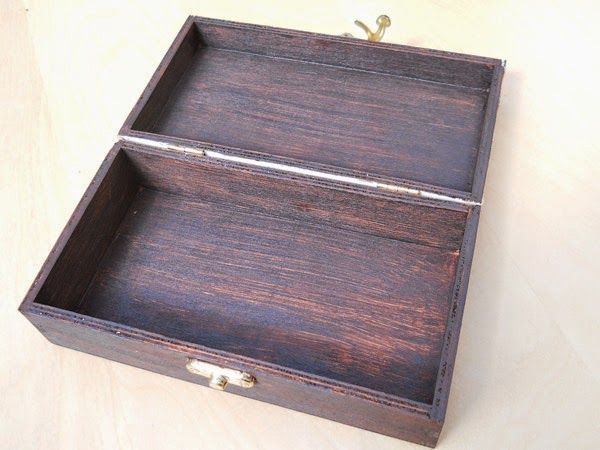
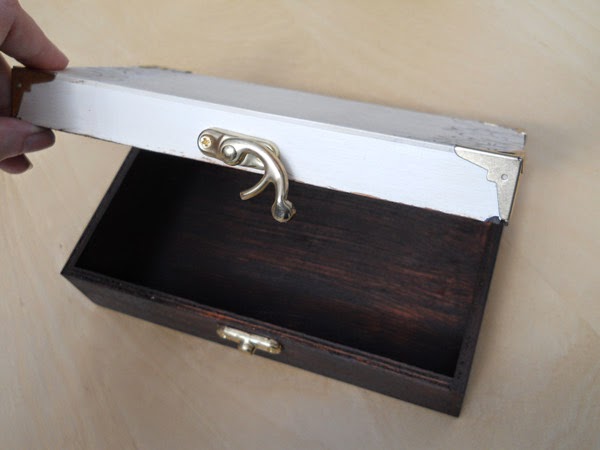 Using a brush gave the effect of it being made out of real, solid wood, rather than the balsa wood it's actually made out of, and looks better in person than these pictures would lead you to believe. I started out by painting the inside of the box just to test it (and you can see why above), but after a while it became... I don't know, just something that felt like it should be done. I know I'm planning on covering it over, but it didn't feel right to leave it naked.
I'm undecided about covering over the inside top as well, so I painted that too.
It's quick-dry paint so it didn't take too long to get through layers, and I still have a lot left which is handy as my mother has now put in her request for one too. (I don't think I can make an industry out of it. I'm having a hard enough time sticking to writing.)
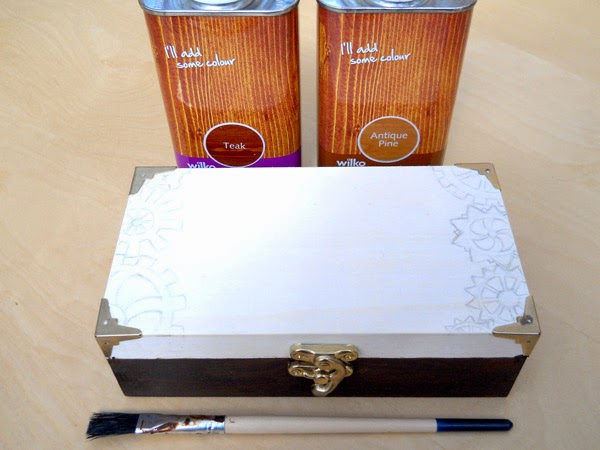 I've designed the top, but it's still as yet unpainted, because I'm not wholly sure how to approach it. I don't know whether to outline the cogs in waterproof pen and then paint, as the cogs are supposed to be Antique Pine while the rest of the lid matches the box, or whether there needs to be a design in the middle. I've considered buying watch parts too and simply attaching a real cog in the center.
On that note, if anyone knows of any good UK-based sellers of steampunk construction pieces or jewelry box items, I'd love to know about it. I'm particularly looking for interior chains to stop the lid opening all the way, but anything would be good.
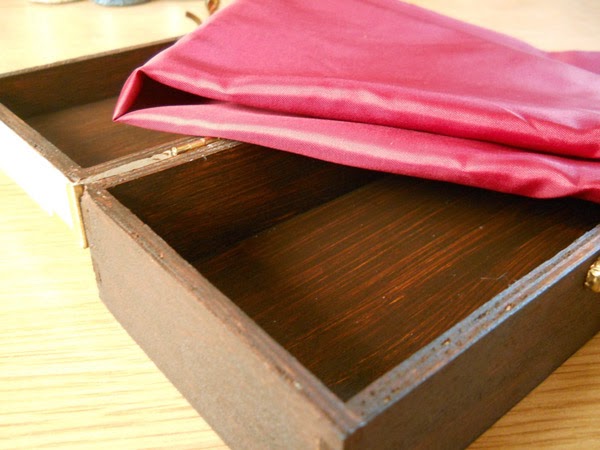 All that was done over the course of May. At the start of this month (June), I headed to John Lewis in the Victoria Center with @SplitShilo and @AgentNotts, where we proceeded to ooh and ahh over the various fabrics, some of which are eye-wateringly expensive. If I won the lottery I'd just camp out there and sniff material, I swear. We examined all the fabrics and I stupidly neglected to bring the actual box along to check colours, but both my friends are very talented artists and could take a good guess at the colour I meant, and in the end we settled on this particularly nice burgundy taffeta. I only bought half a metre (£3) but there's a lot there for the size of the box.
I've yet to figure out how to actually line the box, so any details there would be greatly appreciated. It's probably not a good idea to start a project like this without any actual idea what I'm doing, but being thrown in at the deep end is the best way to learn.
Probably.
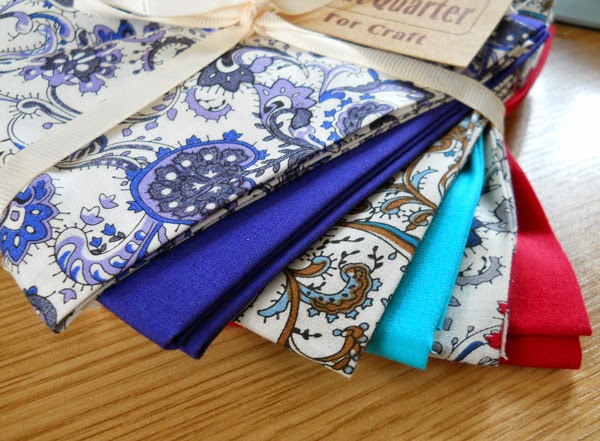 Not that I could resist the lure of all the fabrics entirely. I did end up splurging on some expensive but beautiful material.
I've got no idea what I'll do with it, but the squares are surprisingly large and the material's pretty thick.
I even ended up buying a £35 sewing machine (for light work).
Now I just find myself wishing that my sum total knowledge of sewing wasn't a couple of weeks of art classes where we all made T-shirts to a pre-ordained design and size.
I still have it, sixteen years later. It still fits.
That doesn't say much for the T-shirt; I hope this is a much greater success.
No comments:
Post a Comment
Comments always welcome!